My mom gave me this giant box of thrifted bias tape, hem tape, lace, corded piping, etc, and I needed to figure out SOMETHING to do with it… so:
Cut about a yard of tape, grab a needle with about a yard of thread, knot the end, and go!
Make a running stitch down the center
Gather as you sew… the final gathered piece is probably about 18″ long, but DON’T bother measuring, just gather.
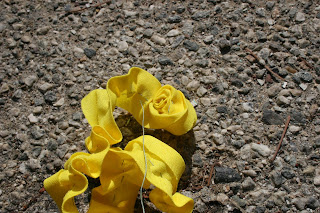
When you get near the end, poke the needle through to the “right” side, but DON’T knot the thread or cut it, just gather, and look at how pretty it is…
Fold the end with the needle in 1/2, so the pre-ironed folds face each other, and start rolling. (Instead of ironing these bias folds out, I found that they add body to the finished rose, so leave them in!)

Use the needle and thread to sew it as you roll it, so it’s not too hard to handle… just pop your needle in near the bottom on one side, and make it come out near the bottom on the other side…

Roll a little more, and sew a little more…

…until you’re done!
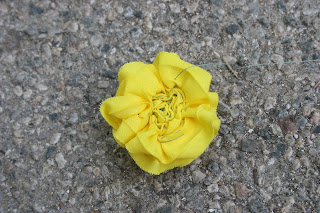


These look good in almost any color, so have at it, and when you finish them, you can put pin backs on them, (or just safety pin them onto a shirt), or sew them to bags, shirts, coats, etc, or put them on hair clippy things!
These take me about 20 minutes now, and are basically free, so just about every girl I know will be receiving these for xmas this year…


